
Nail Drill Bits Guide: Shapes, Grits and Uses for Professionals
Tutorial
The right nail drill bit helps a technician control removal, shaping, and finishing with less unnecessary pressure. Bit choice depends on more than appearance: the shape, grit, material, shank, rotation direction, and intended task all affect how the bit should be used. This guide follows six practical steps, from understanding the bit system to cleaning and replacement.
If you are building a professional equipment assortment, you can compare compatible nail drill systems in the Elesecret Nail Drill range and review related Supporting Tools before specifying a bit set.
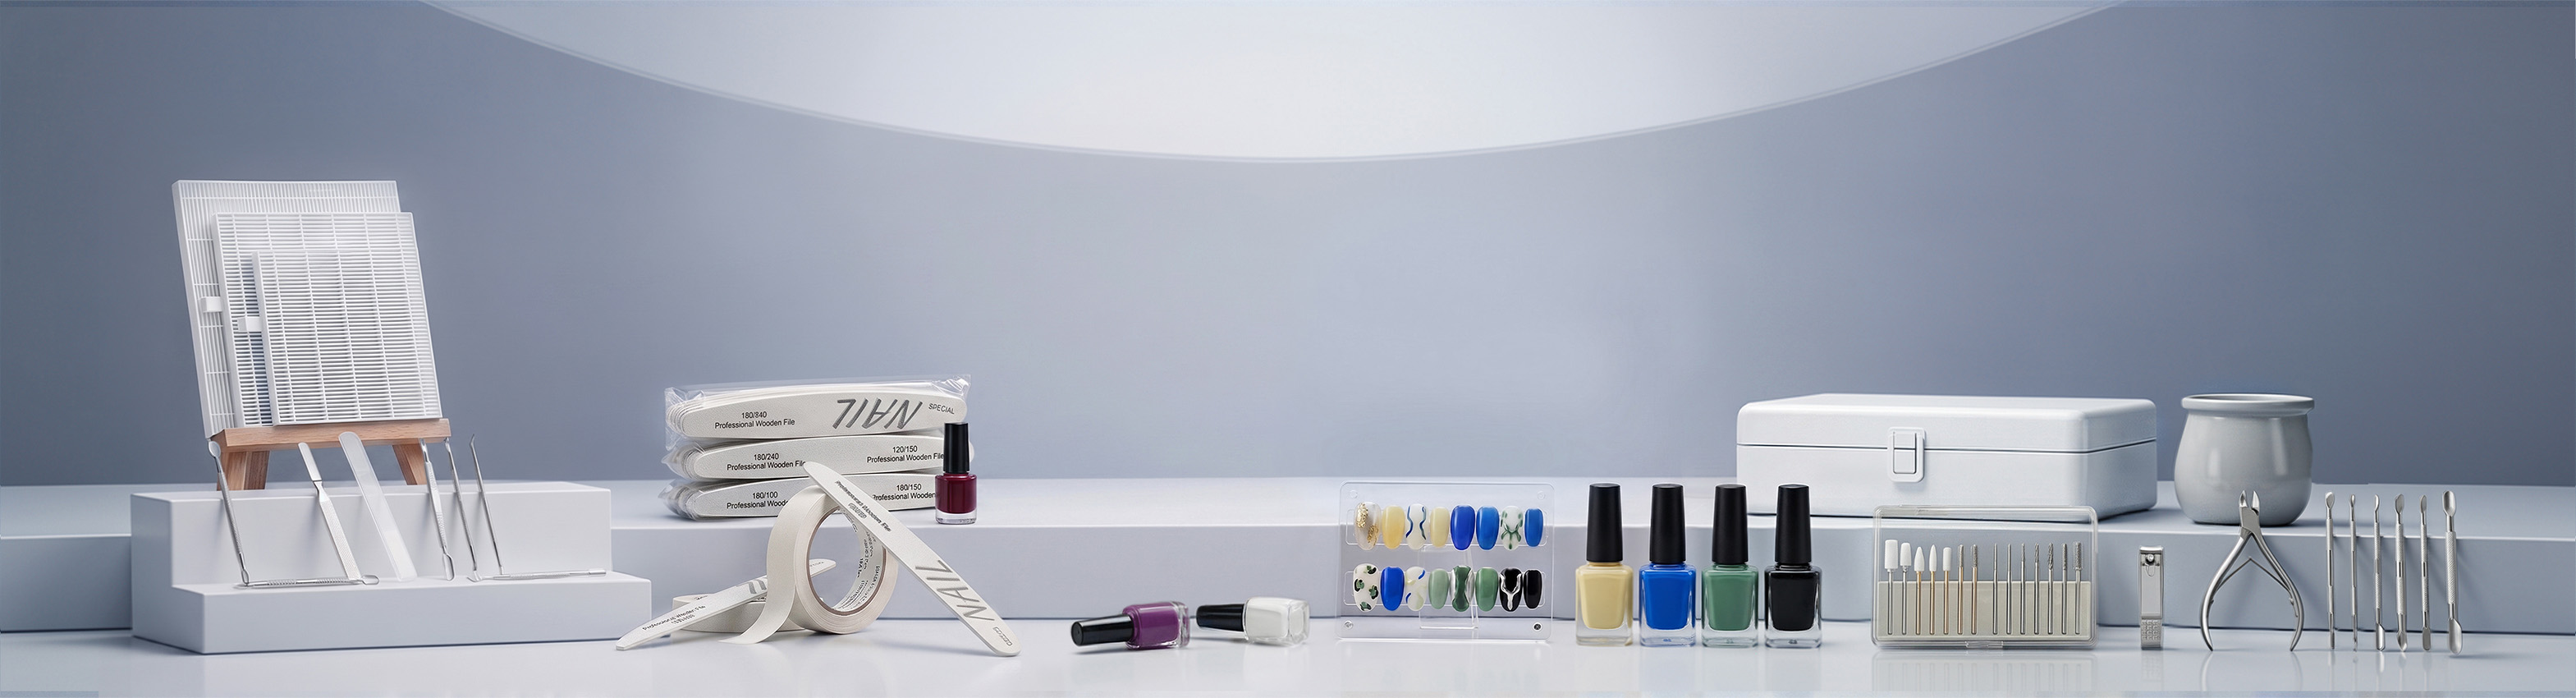
Bit System Basics
A nail drill bit is part of a working system. The bit must fit the handpiece, match the product being worked on, and be suitable for the service stage. A bit that is effective for bulk reduction may be unsuitable for detail work near the cuticle, even when both tasks use the same nail drill.
The main parts of the system are:
- Shank: the straight section inserted into the handpiece. Its diameter and length must match the handpiece specification.
- Working head: the coated, fluted, or abrasive section that contacts the nail product.
- Shape: the profile of the working head, such as barrel, tapered, flame, needle, or round.
- Grit: the relative coarseness of the abrasive surface.
- Rotation and speed: the operating settings that influence cutting behavior, heat, and control.
Carbide, ceramic, and diamond bits are not interchangeable in behavior. The same shape can feel different depending on its material and grit. For that reason, a professional set should be selected by task rather than by appearance alone.
Before ordering a mixed set, check the handpiece and controller specifications for the nail drill model you intend to use. This is especially important when a salon is replacing an existing handpiece or assembling equipment from more than one supplier.
Shape Families
Shape controls the area of contact and the amount of access the technician has around the nail. Broad shapes are generally more efficient for larger surfaces, while narrow shapes are better for sidewalls, small gaps, and detailed transitions.
Barrel and safety barrel bits
Barrel bits provide a broad working surface for reducing thickness, shaping enhancements, and refining larger areas. A safety barrel has a rounded end that can make it easier to work near the cuticle transition without presenting a sharp corner. The bit still requires controlled movement and should not be pressed into the surrounding skin.
Tapered and cone bits
Tapered bits narrow toward one end and can reach sidewalls, undersides, and smaller transitions. Because contact is concentrated on a narrower surface, the technician should use moderate pressure and monitor heat carefully.
Flame and needle bits
Flame bits are shaped for detailed work around the cuticle area and sidewalls. Needle bits are narrower and are intended for very small areas. They are not efficient choices for removing a large amount of product. Their pointed ends also require stable hand control and good visibility.
Round bits and sanding bands
Round bits can follow curved areas and support small refinement tasks. A mandrel with a sanding band offers a disposable abrasive option for shaping and smoothing. The band should be selected for the intended service and replaced according to the salon's hygiene procedures.
Grit and Direction
Grit determines how aggressively a bit removes material. The exact grading system can vary by product, so the technician should use the manufacturer's stated grit and intended application as the reference.
Coarse, medium, and fine grit
Coarse grit is used for heavier reduction, such as removing substantial enhancement product or reducing excess thickness. Medium grit provides a balance between removal and control for general shaping and refinement. Fine grit is more appropriate for smoothing, blending, and finishing rather than bulk removal.
A coarse bit should not be treated as a universal shortcut. If it is used on a thin layer or a delicate area, it can remove more material than intended. Conversely, using a fine bit for heavy reduction can extend contact time and make heat management more difficult.
Rotation direction, speed, and pressure
Some bits are designed for a particular rotation direction, while others may support forward and reverse use. Follow the bit manufacturer's instructions and confirm the handpiece setting before starting. The correct direction improves cutting efficiency and helps maintain a predictable working feel.
Speed should match the bit, material, and technician's control. More speed does not automatically produce a better result. Use a steady movement, avoid holding the bit in one spot, and let the working surface remove the product instead of relying on excessive pressure.
Gel Acrylic Cuticle Task Matrix
The same bit should not be selected for every nail service. Gel, acrylic, and cuticle-area work have different control requirements. The matrix below provides a practical starting point; the final choice depends on the product thickness, bit construction, and technician's technique.
|
Task |
Suitable shape family |
Grit direction |
Control notes |
|
Gel product removal |
Barrel or tapered |
Medium to coarse |
Use controlled passes and avoid prolonged contact on a thin layer. |
|
Acrylic bulk reduction |
Barrel or safety barrel |
Coarse to medium |
Choose a broad working surface for larger areas and reduce pressure near the natural nail. |
|
Surface refinement |
Safety barrel or fine barrel |
Medium to fine |
Use lighter pressure to smooth transitions rather than remove large amounts of product. |
|
Cuticle-area transition |
Safety barrel or flame |
Fine to medium |
Keep the bit moving and use the side of the bit where appropriate. |
|
Sidewall and narrow detail |
Flame or tapered |
Fine to medium |
A narrower profile improves access but concentrates contact. |
|
Final detailing |
Small round, needle, or fine diamond |
Fine |
Use only where precision is needed; do not use a detail bit for bulk removal. |
For a wider equipment plan, the Elesecret product catalog groups Nail Drill equipment with related nail tools and other salon equipment. This can help buyers plan the drill, handpiece, bit, and supporting-tool combination together.
Shank and Handpiece Fit
A bit can be technically suitable for a task and still be unsafe or inefficient if it does not fit the handpiece correctly. Before inserting a bit, confirm the shank diameter, insertion depth, locking mechanism, and any compatibility notes supplied with the handpiece.
- Do not force a shank into a handpiece that is not designed for it.
- Insert the bit to the recommended depth and secure it before operating.
- Check for visible wobble at low speed before beginning detailed work.
- Stop using the bit if it slips, vibrates unusually, or creates an inconsistent cut.
- When selecting a private-label or bulk equipment line, confirm that the proposed bits and handpieces use the same fit standard.
Compatibility should be checked at the product-selection stage, not after a bulk order arrives. Buyers developing a branded assortment can discuss handpiece and accessory matching through Elesecret's OEM/ODM manufacturing service so the equipment line is specified as a system.
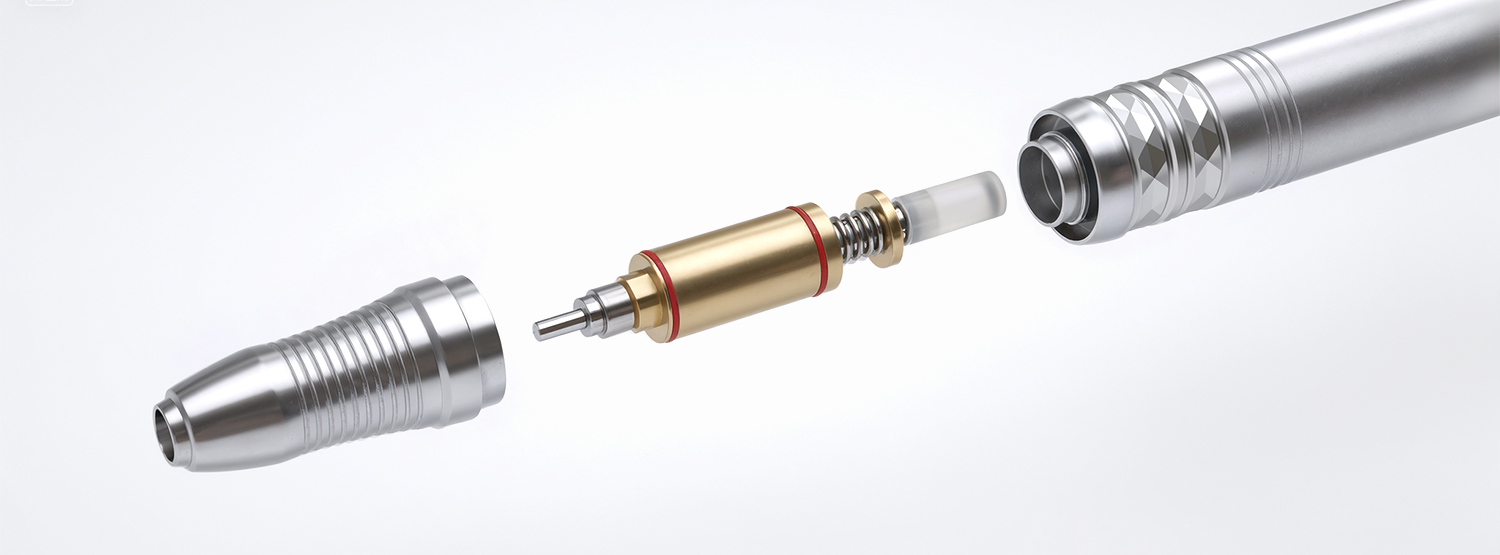
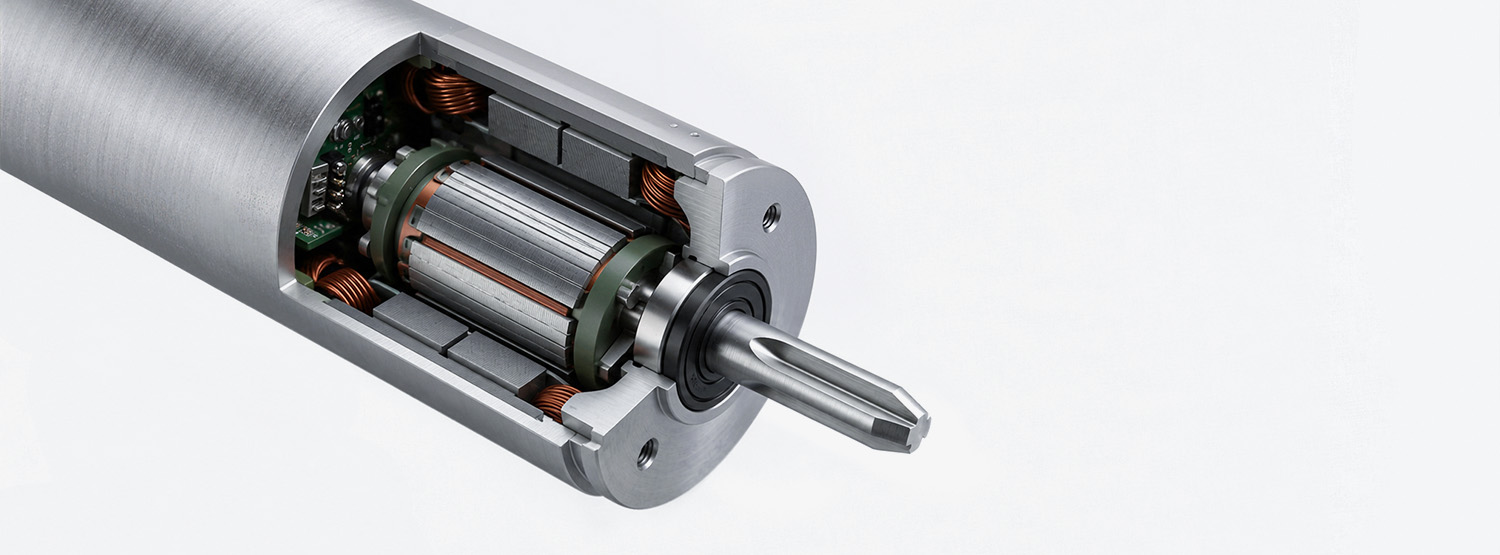
The handpiece is also a maintenance component. A detachable bearing structure is described on Elesecret's website as supporting internal maintenance without replacing the entire handpiece. The exact applicability and service procedure should be confirmed for the selected model before making a maintenance or lifespan claim.
Cleaning Replacement and Storage
Cleaning and replacement are part of bit selection. A bit that is difficult to clean, visibly damaged, or no longer cuts smoothly can affect both service consistency and operator control.
After each service
- Remove visible product from the flutes or abrasive surface.
- Use the salon's approved cleaning and disinfection process for the specific bit material.
- Separate used bits from processed bits to avoid cross-contamination.
- Inspect the coating, cutting edges, and shank for damage.
When to replace a bit
Replace a bit when its cutting performance has noticeably declined, the abrasive surface is worn, the flutes are damaged, corrosion is visible, or the bit creates unusual heat and vibration despite correct use. A worn bit often encourages the technician to apply more pressure, which can make the service less controlled.
Storage and documentation
Store processed bits in a clean, dry container and keep them organized by shape, grit, and task. A simple label system such as bulk removal, surface refinement, detail work, and finishing can reduce selection errors. For a salon or distributor, recording the bit type and replacement date also helps standardize service quality across technicians.
Cleaning methods are not universal. Heat, chemicals, and mechanical processing may affect different materials or coatings in different ways. Follow the bit supplier's instructions and the salon's hygiene requirements rather than assuming that every carbide, ceramic, diamond, or sanding-band system can be processed identically.
Conclusion
A professional nail drill bit set should be built around tasks: the material being removed, the area being worked on, the required level of control, and the handpiece being used. Shape determines access, grit determines removal behavior, and the correct shank fit keeps the system stable. Cleaning, inspection, and replacement then preserve the performance of the set over time.
If you are selecting equipment for a salon, distribution line, or private-label brand, review the Nail Drill product range and Supporting Tools collection together. For a customized equipment line, you can contact Elesecret's OEM/ODM team with your target services, handpiece requirements, bit assortment, and market specifications.